Scrap FX DT member post
Merry Christmas my dear blog friends
and welcome to my second dt member post on the second Christmas day,
or the second day of the 13th holy days.
I created for you two layouts with the beautiful products from Scrap FX Australia.
Here is the link: scrapfx.
After a four weeks holiday break it was a little bit difficult to get back into
a creative flow, but....... I succeeded.
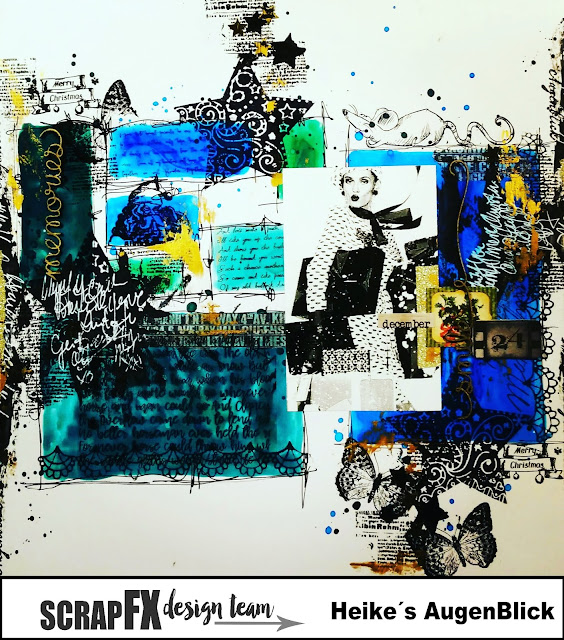
I started on a 30 cm by 30 cm white cardstock which I covered with two layers clear gesso.
Then I drew the rectangles with help from the ScrapFX stencil.
After my pencil-lines were made, I colored the rectangles with my favorite
ink sprays. sometime I added two layers of ink spray, for a little bit darker result.
Now my always favorite part stamping with waterproof black ink and the stamps from Scrap FX and other companies.
After that I made scribble lines to the rectangles and black gesso spots with my spatula. For my decoration I added washi tape.Then I added
on the black gesso also white scribble lines and for a little bit glamour gold acrylic color.
Then I glued the photo and the Scrap FX chipboards which I also covered with gold acrylic color
and some stickers on the cardstock.
Done!!
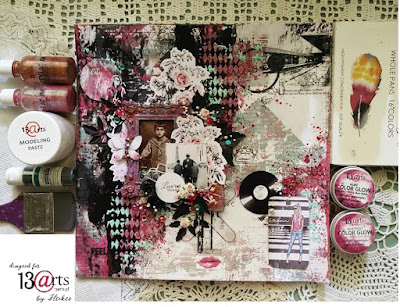
Here is my second layout...
I used for my two layouts from Scrap FX:
stencil:
My dear blog readers,
I would like to thank you for reading my post and of course for your lovely
comments. All the best for you and your family in 2019.
xoxo
Heike
and welcome to my second dt member post on the second Christmas day,
or the second day of the 13th holy days.
I created for you two layouts with the beautiful products from Scrap FX Australia.
Here is the link: scrapfx.
After a four weeks holiday break it was a little bit difficult to get back into
a creative flow, but....... I succeeded.
I started on a 30 cm by 30 cm white cardstock which I covered with two layers clear gesso.
Then I drew the rectangles with help from the ScrapFX stencil.
After my pencil-lines were made, I colored the rectangles with my favorite
ink sprays. sometime I added two layers of ink spray, for a little bit darker result.
Now my always favorite part stamping with waterproof black ink and the stamps from Scrap FX and other companies.
After that I made scribble lines to the rectangles and black gesso spots with my spatula. For my decoration I added washi tape.Then I added
on the black gesso also white scribble lines and for a little bit glamour gold acrylic color.
Then I glued the photo and the Scrap FX chipboards which I also covered with gold acrylic color
and some stickers on the cardstock.
Done!!
Here is my second layout...
I used for my two layouts from Scrap FX:
stencil:
Rectangle Stencil
Polygonic stencil
stamps:
Art Deco Panel stamp
Doodled Star stamp
Harlequin Stamp
Journey stamp
transparency:
Script transparency
chipboard:
Happy & Memories
Laugh & Smile
Square Screen
Last but not least here is my favorite Scrap FX dt member project from 2018..
there was also a video tutorial..
My dear blog readers,
I would like to thank you for reading my post and of course for your lovely
comments. All the best for you and your family in 2019.
xoxo
Heike


Comments
Post a Comment